I think I can do that. Maybe even better
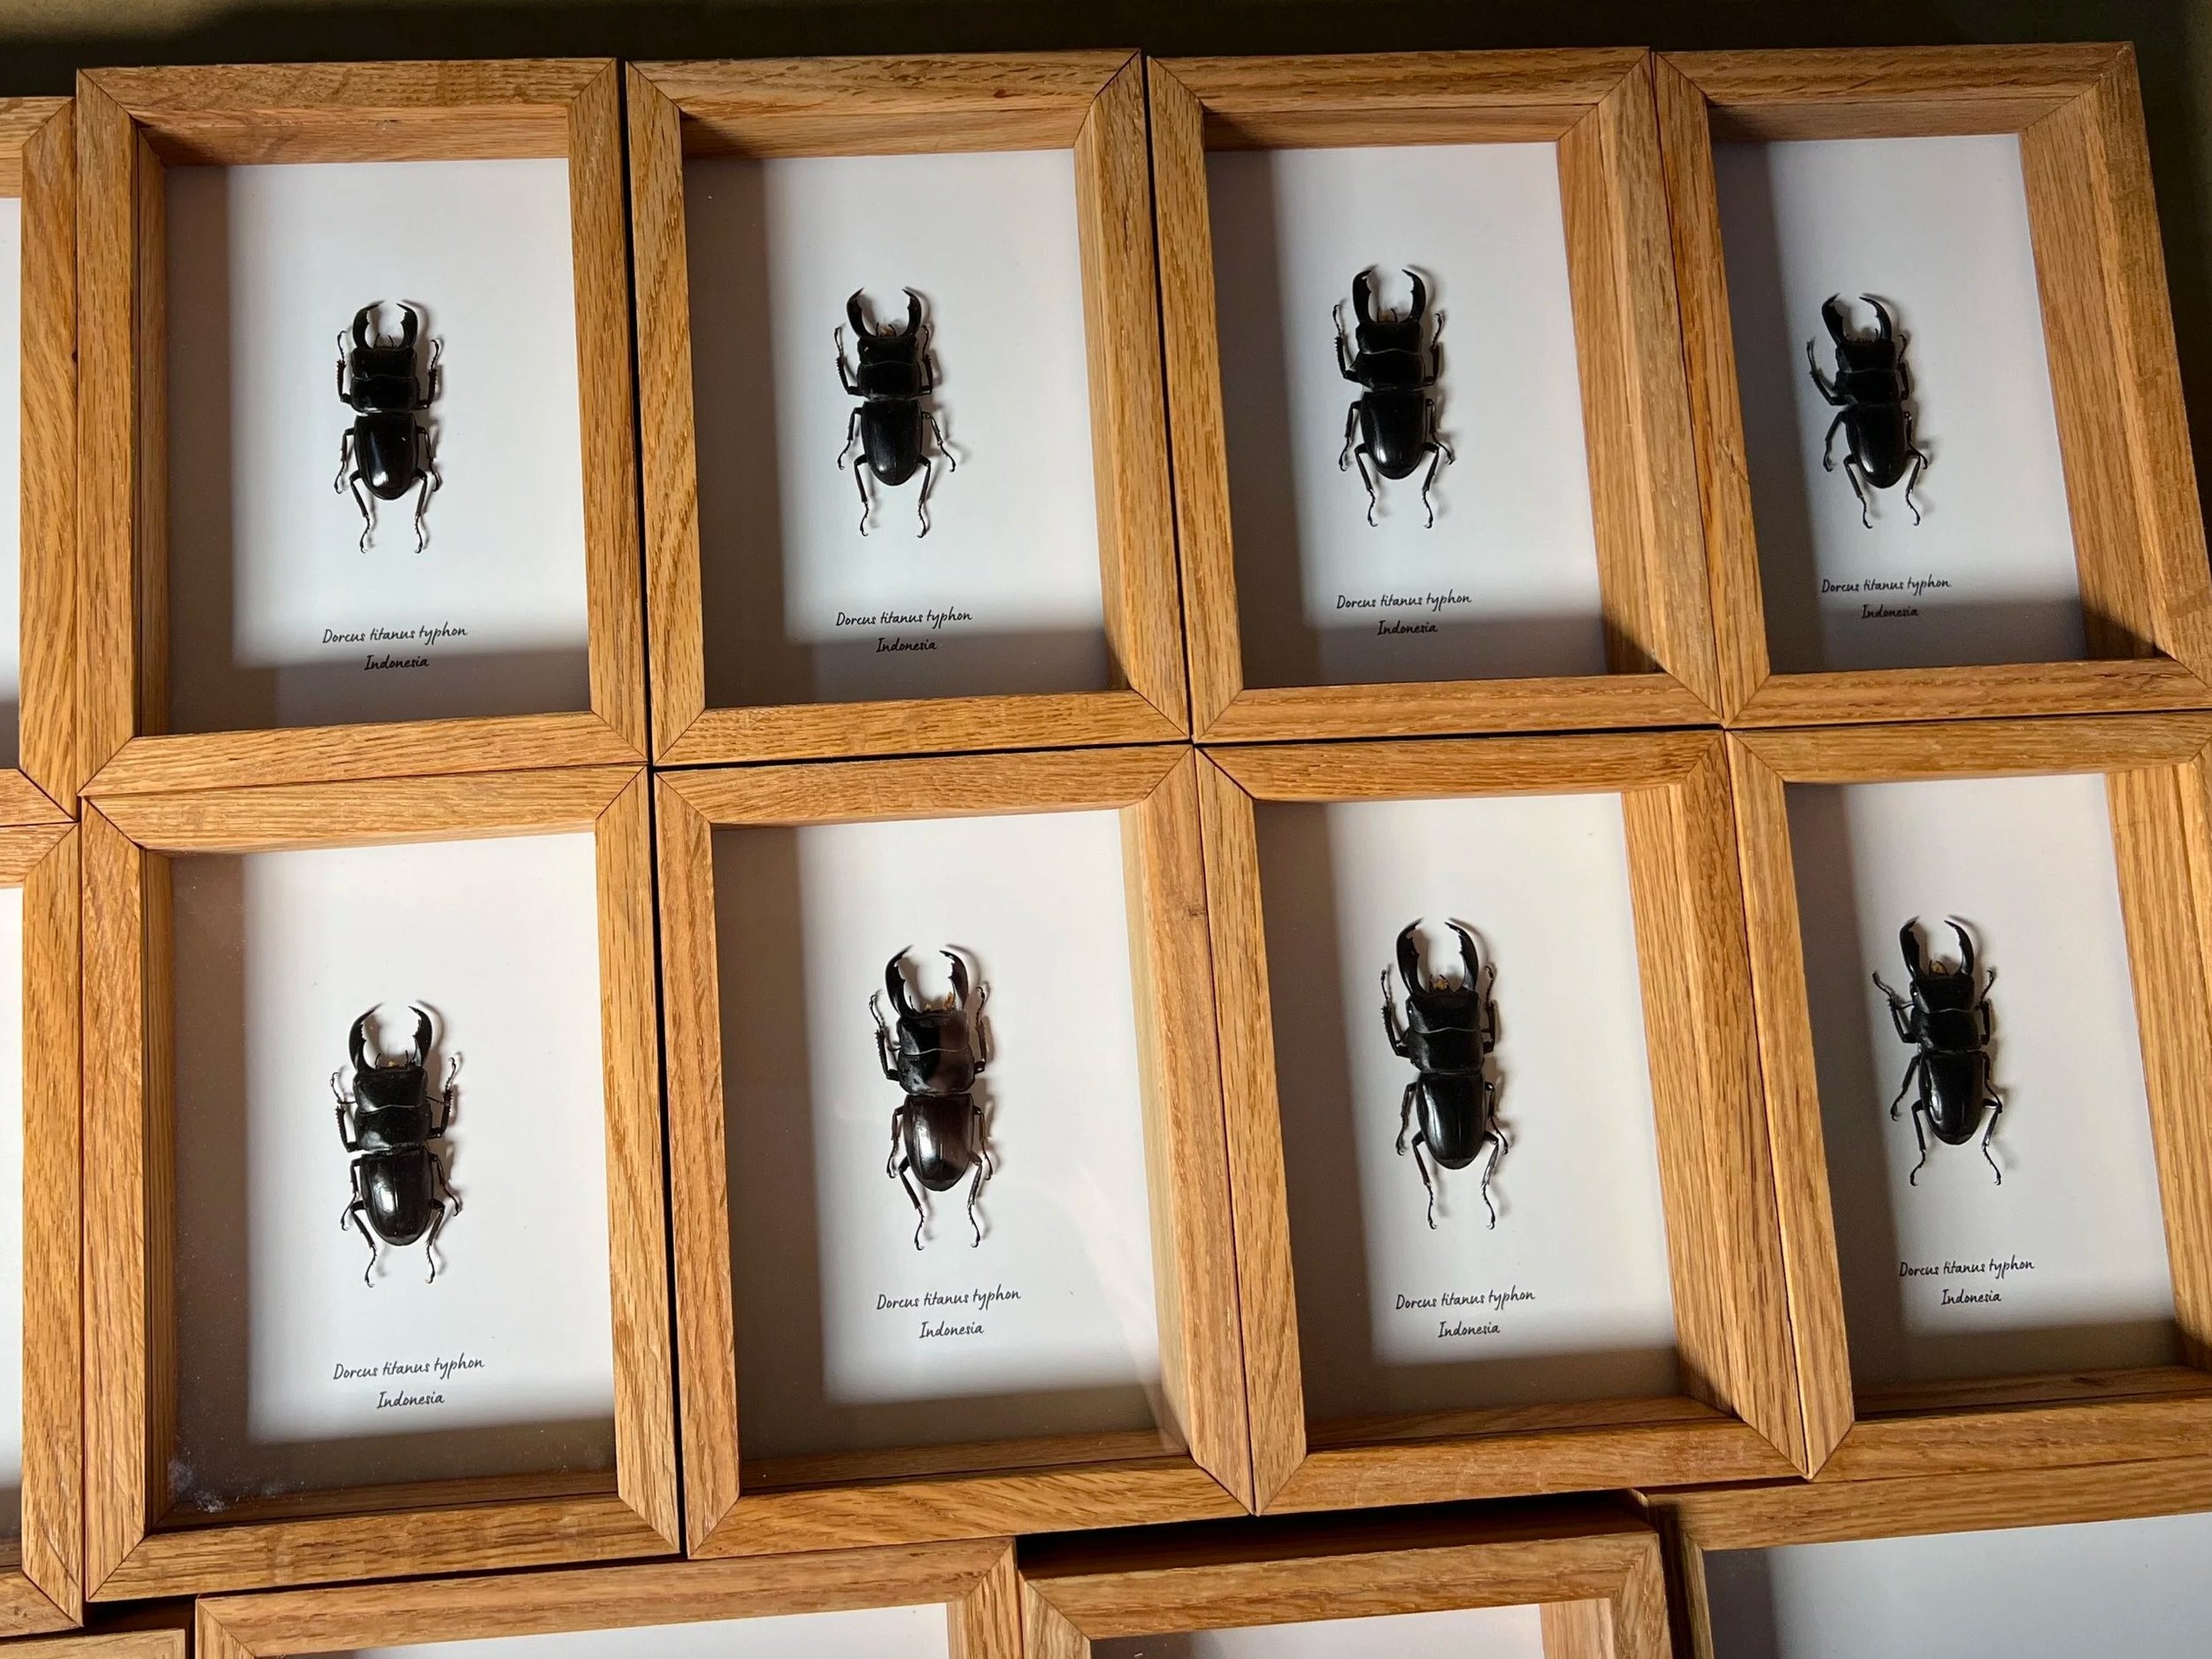
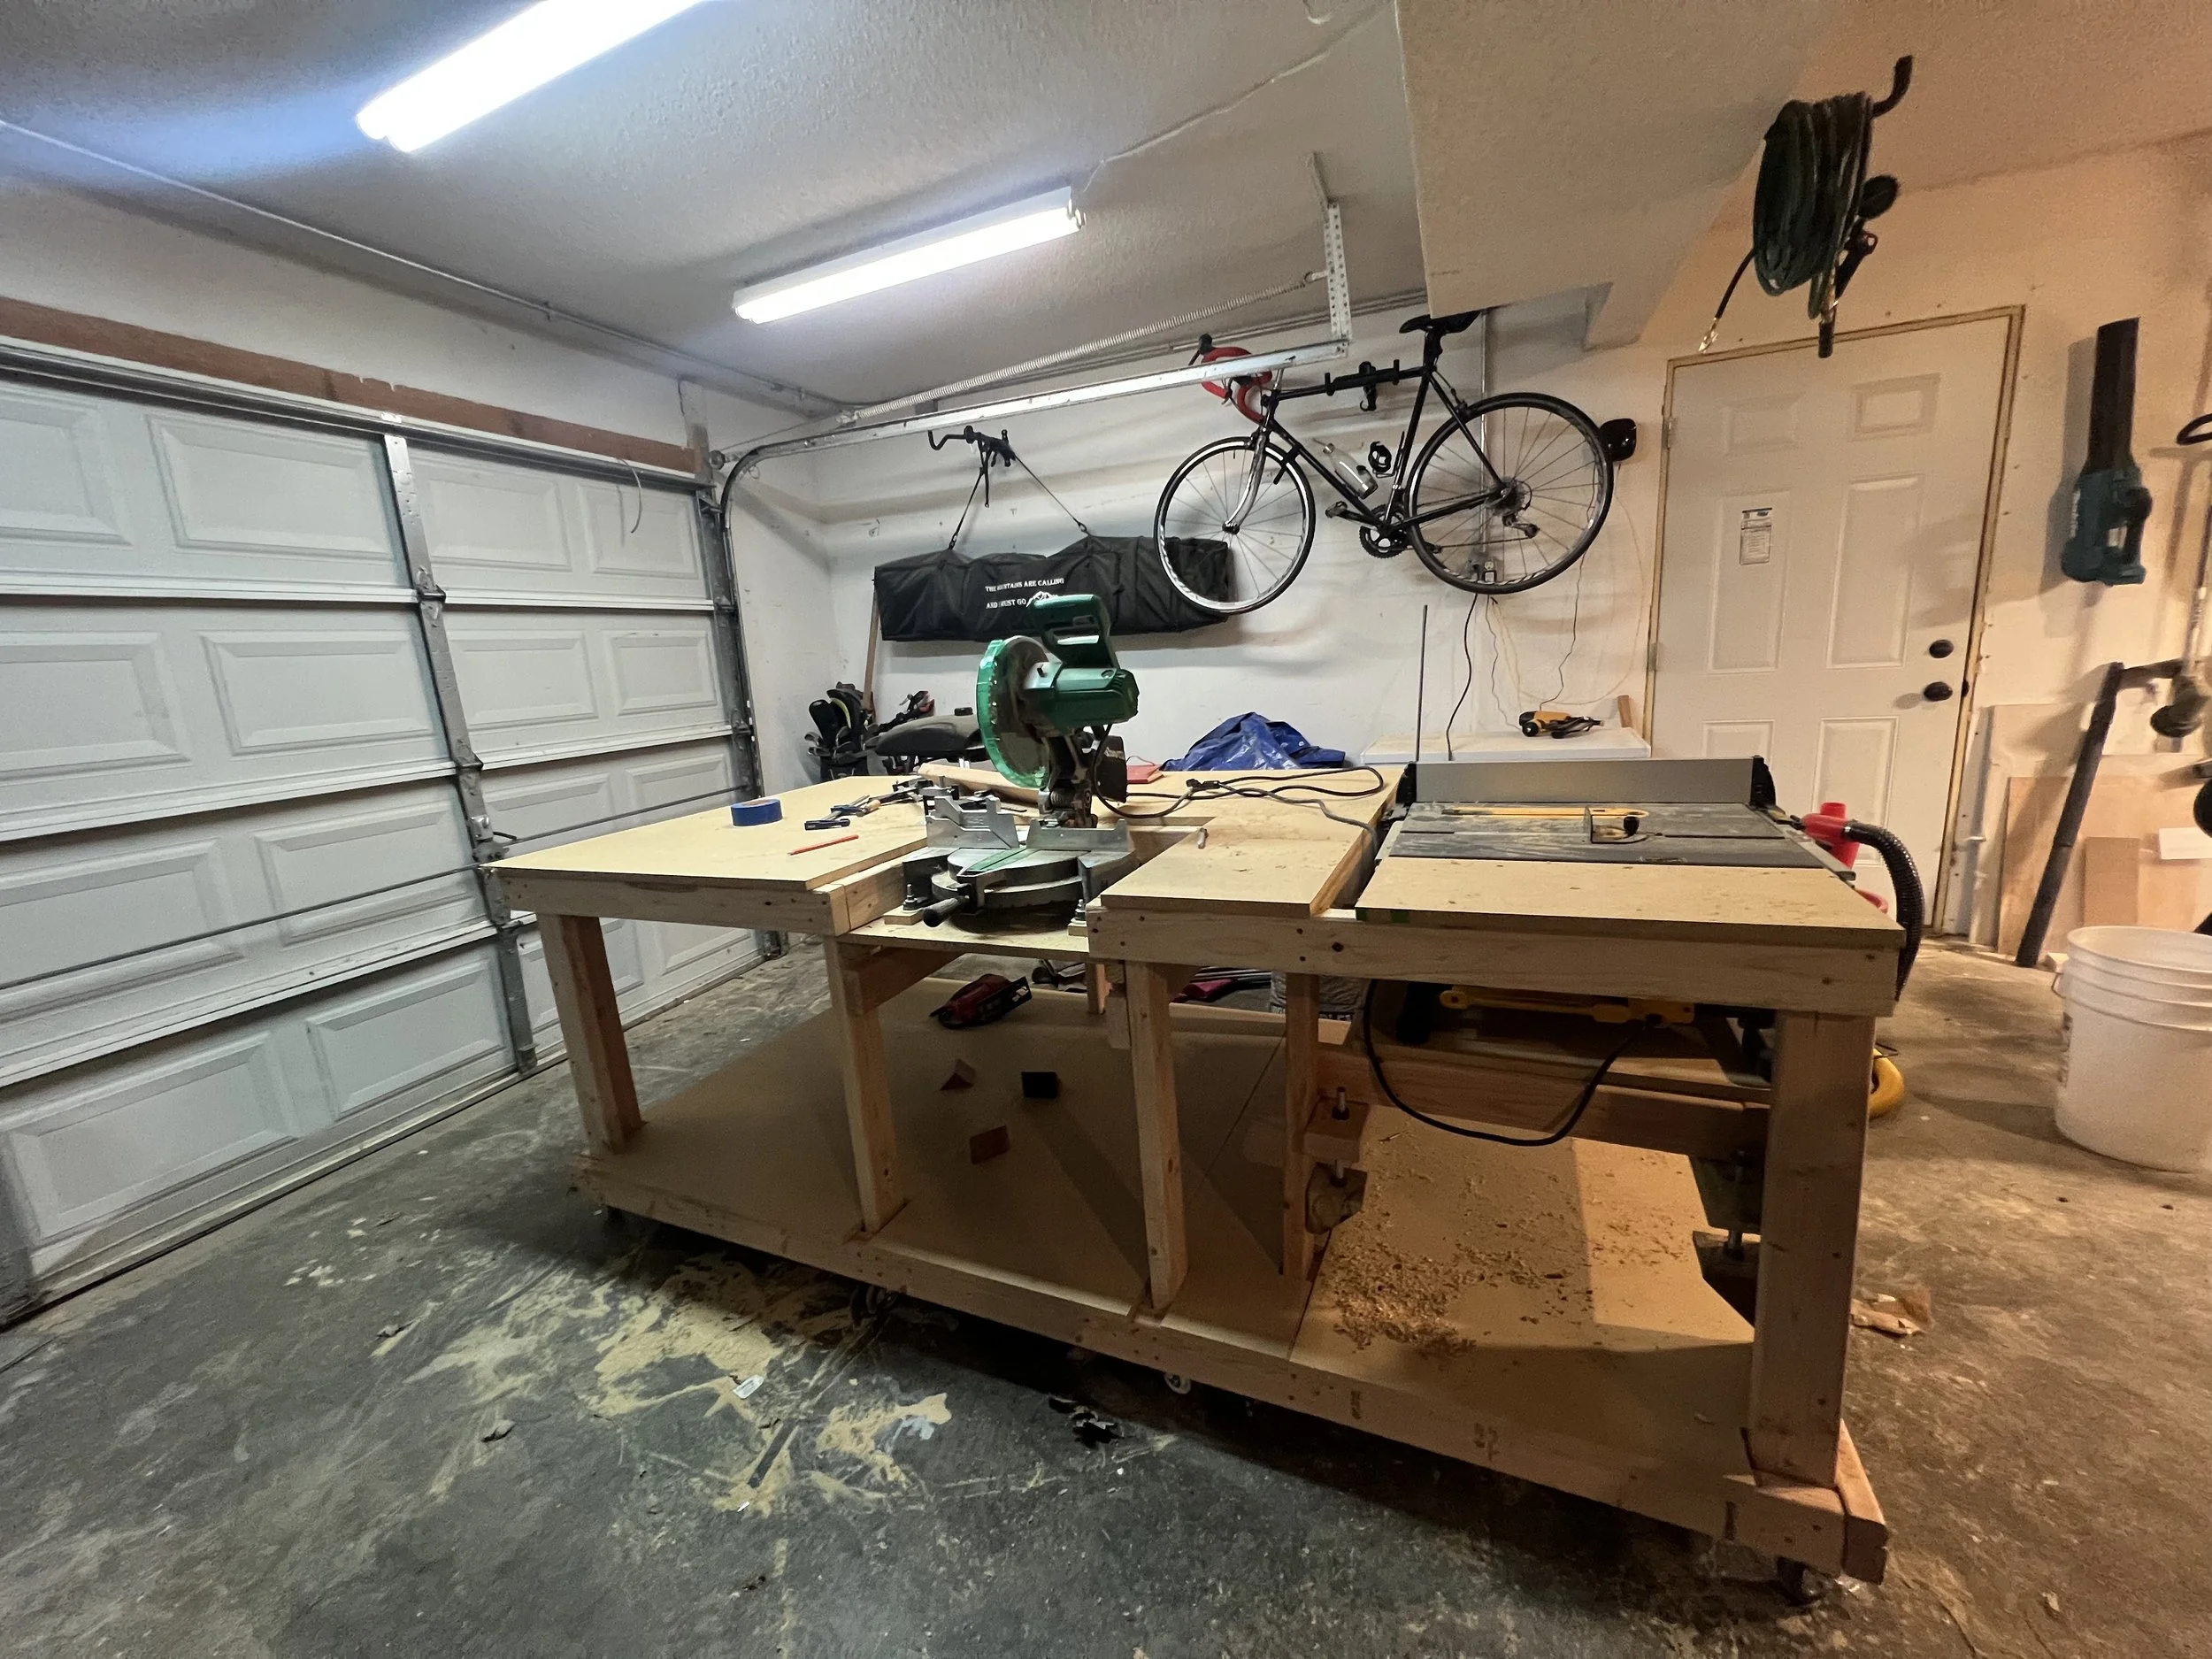
We all get inspiration from somewhere. After years of pinning specimens for my own research, I stumbled upon a booth selling framed insects from around the world. Seeing the possibilities — and fresh off building a woodshop in my garage — I went home and crafted my first shadowbox prototype. The bugs to go inside were still TBD.
Turning Raw Materials into Frames
Materials and tools
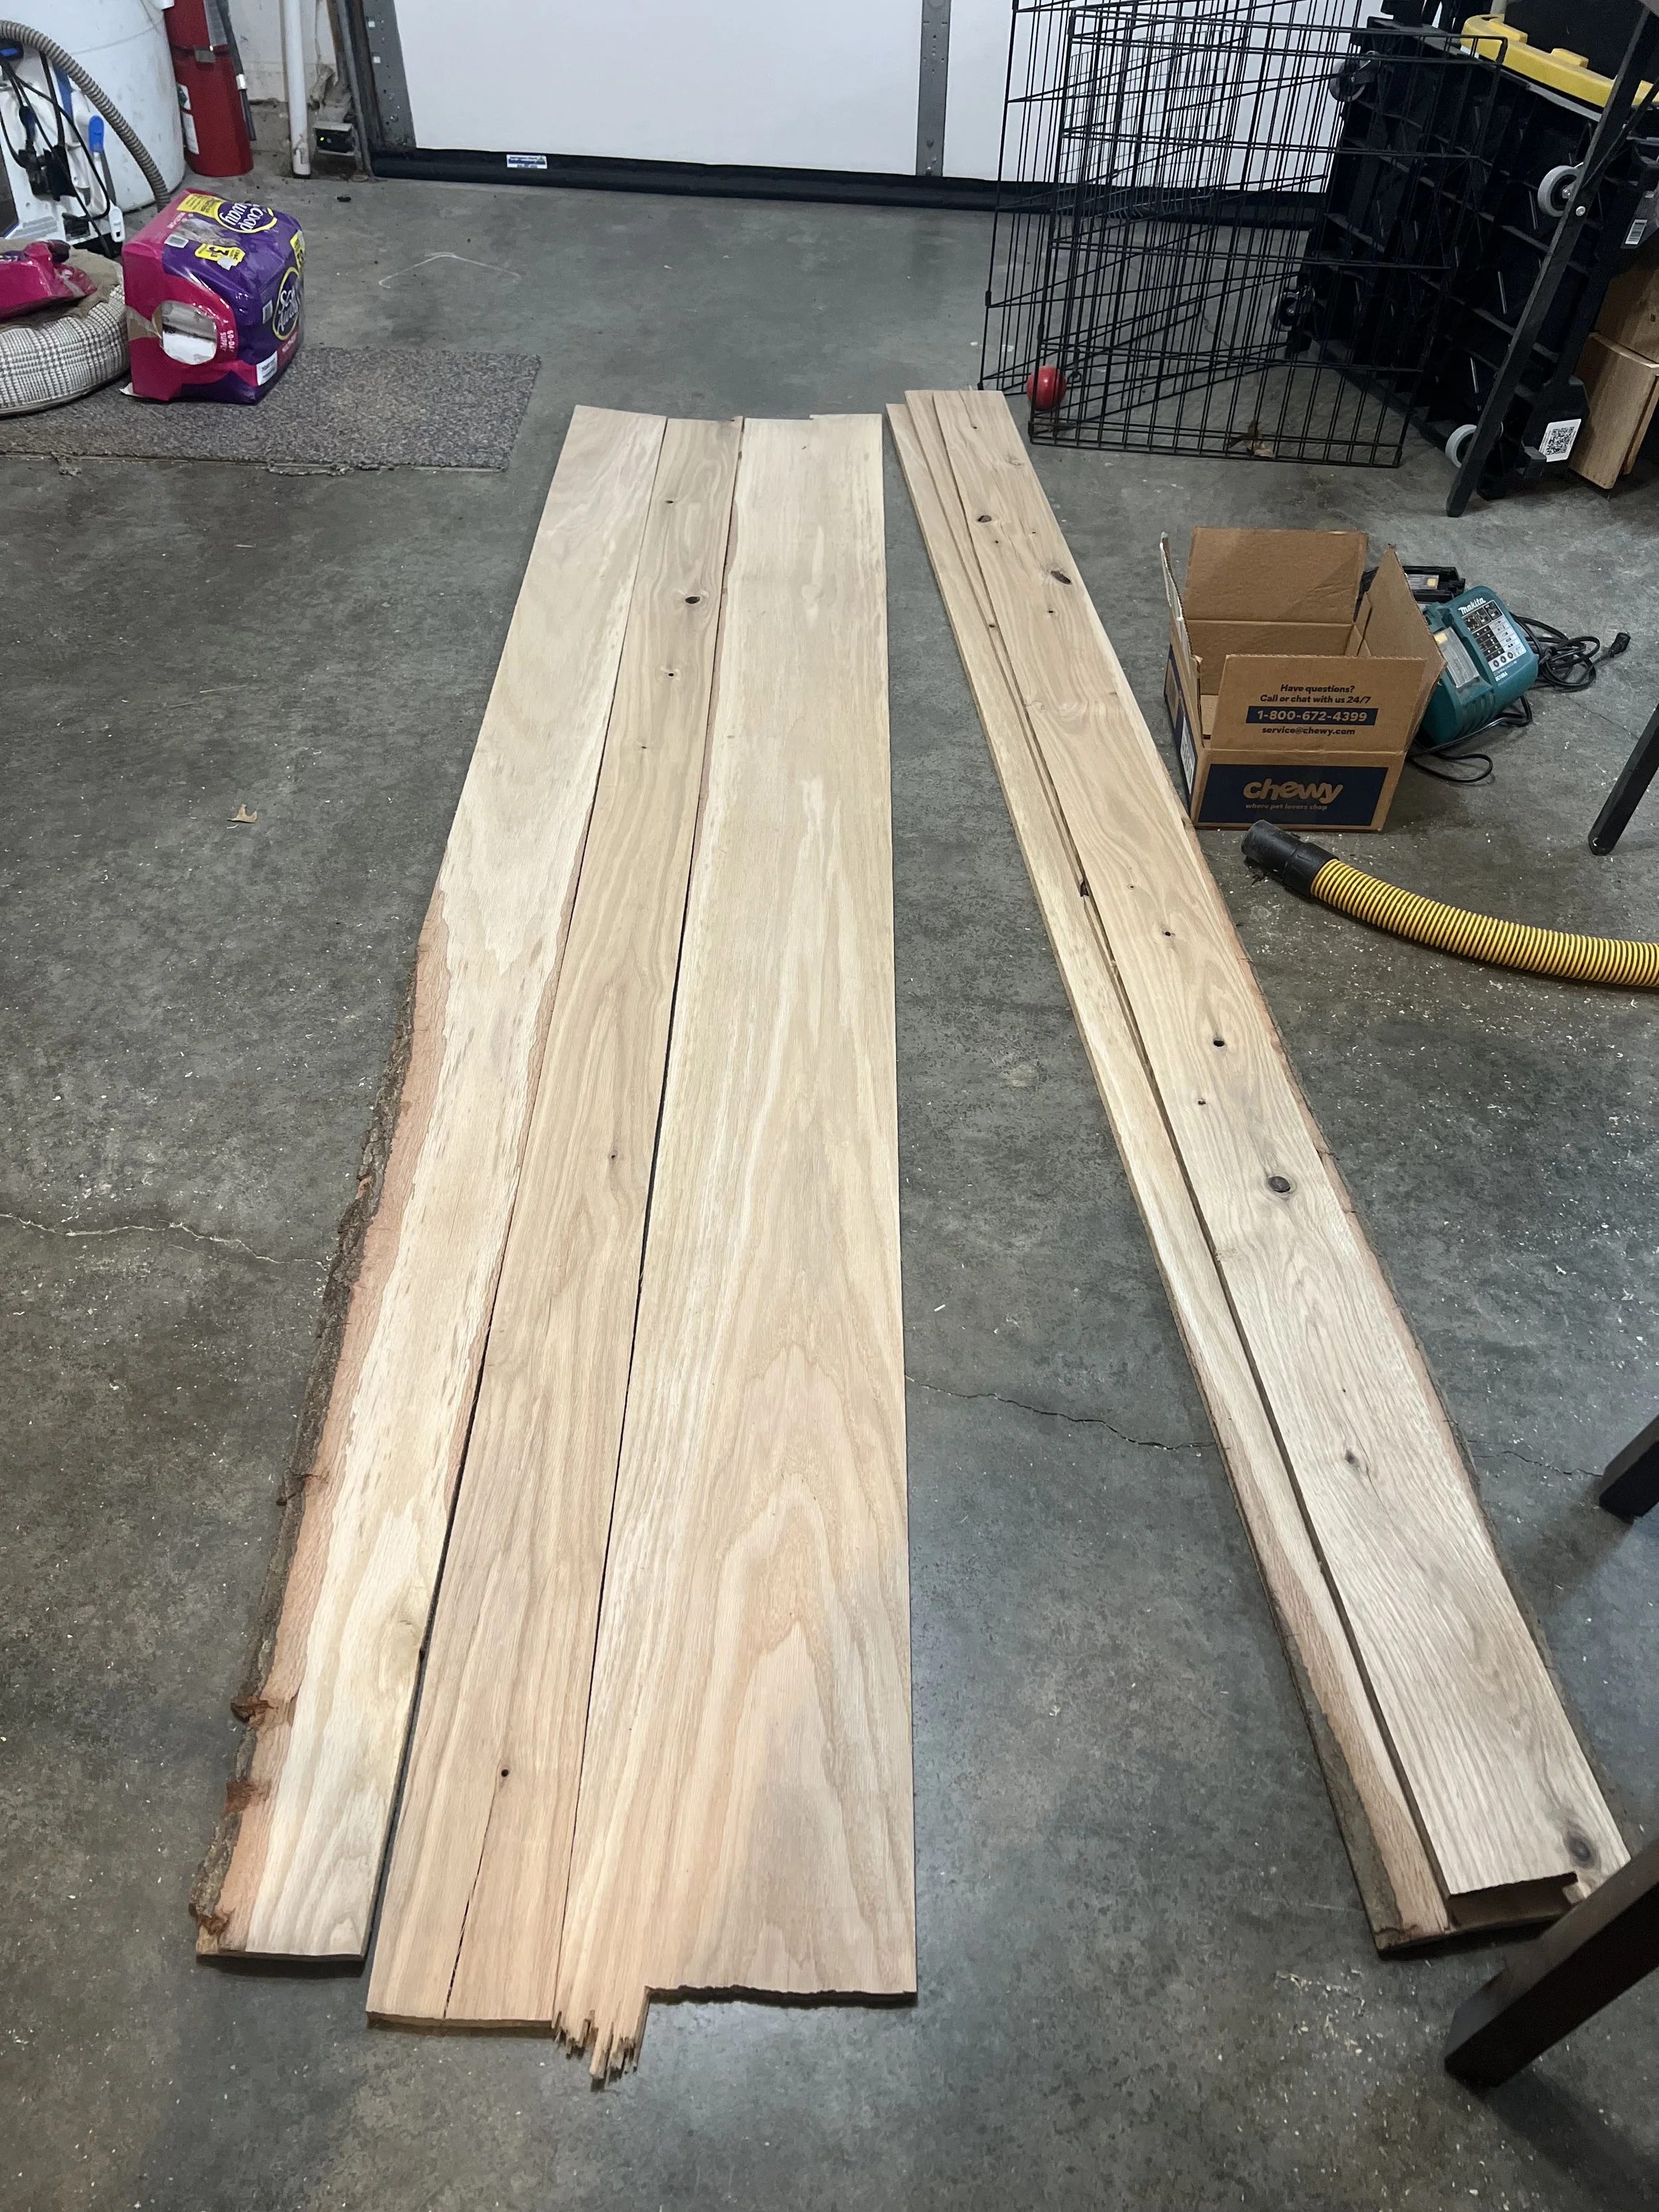
Oak boards (select straight-grained, kiln-dried pieces)
1⁄8" or 3⁄16" float glass (cut to size)
Backing board (acid-free foamcore or 1⁄8" hardwood panel)
Wood glue and PVA wood glue
Small finishing nails or brad nails
Clamps (bar or parallel)
Miter saw or table saw
Router with rabbet bit or chisel and mallet
Glass cutter and straightedge
Safety gear: eye protection, hearing protection, dust mask, gloves
Sandpaper (120–220 grit), wood finish (oil, varnish, or wax)
Measuring tools: calipers, combination square, tape measure, pencil
Optional: silicone or glazing points to secure glass, felt pads
Measure the specimen precisely
Measure the insect in three dimensions: length, width, and maximum depth (thickness from the mounting pin or substrate to the top of the body). Use calipers for accuracy.
Consider clearance: add a small gap to avoid touching the specimen. Typical clearances: 1/8" (3 mm) for flat or small insects, 1⁄4" (6 mm) for bulkier specimens. For very delicate or large-bodied insects, increase clearance accordingly.
Decide display orientation and any mounting hardware (pinned, glued to a substrate, suspended). This affects internal dimensions.
Design the shadowbox interior dimensions
Internal width = insect width + twice the chosen horizontal clearance.
Internal height = insect length + twice the chosen vertical clearance.
Internal depth = insect depth + backing substrate thickness + chosen clearance from glass (often 1⁄8"–1⁄4").
Example: insect 2.5" long × 1.25" wide × 0.5" deep, choose 1⁄8" clearance all around and 1⁄8" glass clearance: internal width = 1.25 + 0.25 = 1.5"; internal height = 2.5 + 0.25 = 2.75"; internal depth = 0.5 + 0.125 (foamcore) + 0.125 = 0.75".
Plan the frame and rabbet
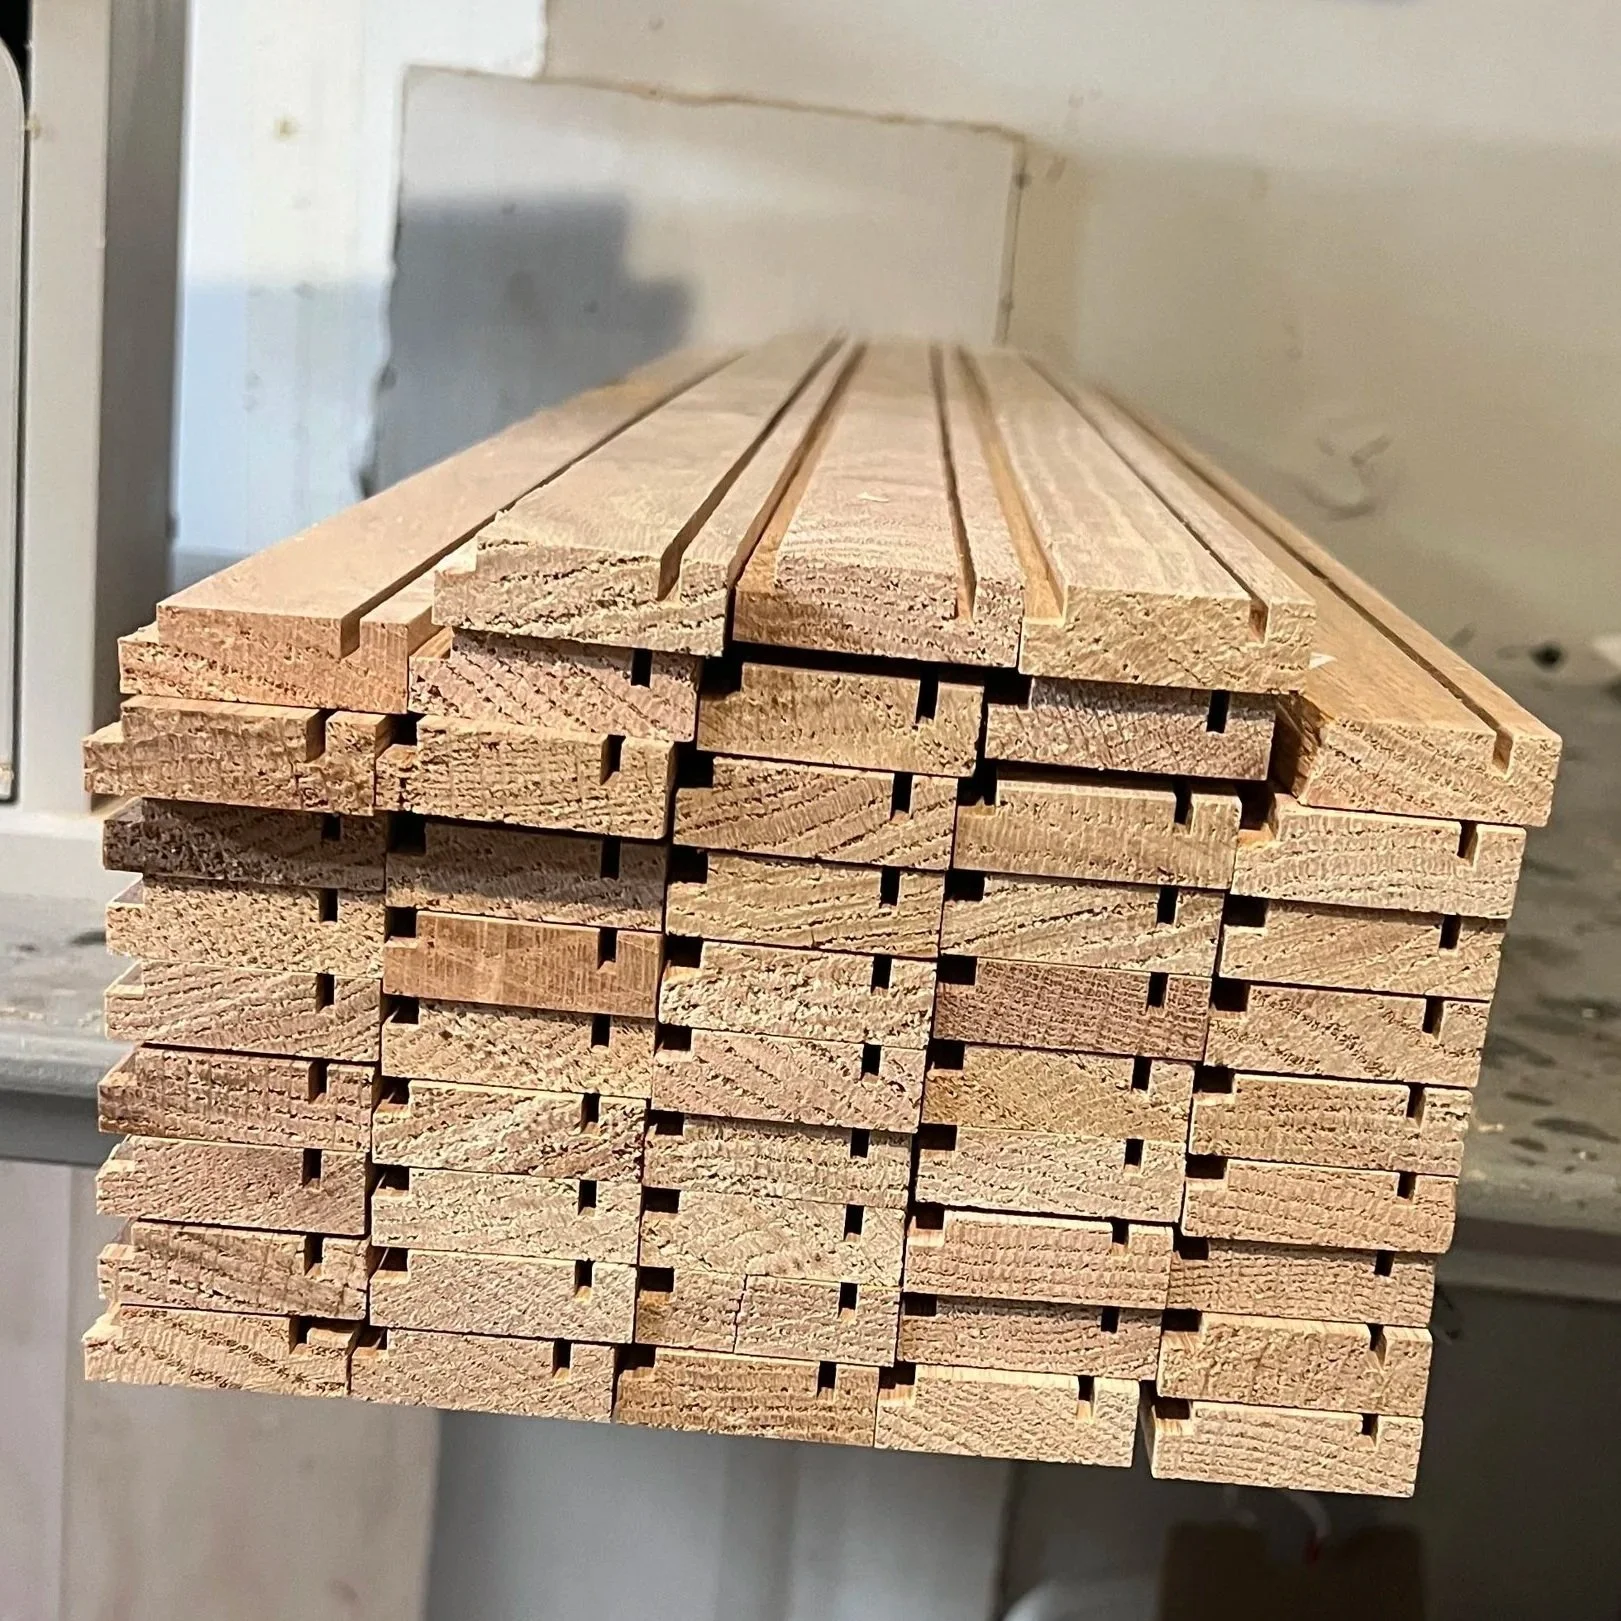
Choose frame face width and thickness from oak boards. Common face widths are 3⁄4" to 1 1⁄2".
The interior cavity sits inside a rabbet (a recess) routed or cut into the back of the frame pieces to hold the glass and backing.
Rabbet depth = glass thickness + backing thickness + small shim space (1⁄16"–1⁄8"). For 1⁄8" glass and 1⁄8" foamcore,
We use only oak to make our frames. Much of it is sourced from a small farm owned and milled by a family friend in Central Missouri.
Solid, sturdy, and full of personality—oak gives every frame a warm grain and a lifetime of good looks. No plywood shortcuts, no mystery woods—just real oak, hand-finished to bring out natural color and texture. Oak resists dings, holds joins tight, and ages beautifully, developing a rich patina that tells your story.
If you love craftsmanship that looks as good as it feels, oak frames are the smart, stylish choice.